I was standing in the middle of a kitchen that smelled like burnt toast and despair, when I realized the only thing that could salvage the morning was a batch of chocolate croissants that would make my roommate’s taste buds do a happy dance. The disaster was the same old flaky dough that never seemed to rise, the butter that turned to butter‑butter, and the chocolate that stuck to every surface. I stared at the failed batch, then whispered to myself, “I’ll make it better, I’ll make it buttery, I’ll make it chocolatey.” The result? A recipe that feels like a secret handshake with the bakery, but you can do it from scratch, from your own kitchen, and still taste the luxury.
Picture this: a golden, flaky shell that cracks open with a satisfying pop, revealing a cloud of molten chocolate that drips like a slow, sweet river. The aroma that rises from the oven is a siren call that draws the whole house in, and the first bite feels like a hug from a childhood memory you never knew you missed. The texture is a delicate balance—crispy on the outside, tender and airy on the inside, with a chocolate center that oozes just enough to satisfy an adult sweet tooth without drowning the buttery crust. Every element is carefully orchestrated to deliver that “wow” moment, and I’ve distilled it into a recipe that you’ll want to keep on your pantry shelf forever.
Why does this version stand out? Because I’ve taken the classic croissant and injected it with a secret lamination technique that guarantees a buttery, flaky texture that rivals any bakery, and I’ve paired it with a chocolate filling that is both rich and surprisingly light. I’ve also trimmed the prep time to under 20 minutes of active work, so you can have a decadent treat on the table before your coffee even cools. And the best part? The recipe is so forgiving that even a kitchen novice can master it—no need for a fancy stand mixer or a pro‑grade dough hook. If you’re looking for a dessert that feels luxurious but is easy to pull off, this is the one.
I dare you to taste this and not go back for seconds. I’ve been honest—half of the batch vanished before my friends even tasted it. Most recipes get this completely wrong: they either over‑laminate and end up with a dough that’s too heavy, or they under‑laminate and get a flat, doughy result. Here’s what actually works: a quick, precise fold, a short chill, and a generous amount of chocolate that melts just enough to keep the croissants from drying out. Picture yourself pulling this out of the oven, the whole kitchen smelling incredible, and feeling that triumphant, almost guilty, smile that only a home baker can get. Let me walk you through every single step—by the end, you’ll wonder how you ever made it any other way.
What Makes This Version Stand Out
- Flaky Perfection: The lamination technique used here creates a buttery, multi‑layered crust that rises beautifully, giving each croissant a light, airy feel that melts in your mouth.
- Chocolate Depth: The chocolate filling is a blend of dark and milk chocolate, balanced to be rich without overwhelming the delicate dough.
- Time Efficiency: With a prep time of just 15 minutes and a cook time of 30 minutes, you can have a bakery‑quality pastry ready in less than an hour.
- Ingredient Quality: Using high‑grade butter and premium chocolate ensures a flavor profile that feels indulgent and authentic.
- Make‑Ahead Friendly: The dough can be prepared up to 24 hours ahead, and the croissants can be frozen before baking for future use.
- Versatility: This recipe works for breakfast, brunch, or an after‑dessert treat, and it scales easily for larger gatherings.
Alright, let’s break down exactly what goes into this masterpiece…
Inside the Ingredient List
The Dough Core
All-purpose flour is the backbone of the croissant, providing structure and a neutral base that lets the butter shine. It’s the glue that holds the layers together, so use a flour with a moderate protein content for the best rise. If you can’t find all-purpose, bread flour will work but may result in a chewier texture. The flour also absorbs the liquid, so keep it dry while mixing to avoid a gummy dough.
Salt is the flavor enhancer that brings out the buttery richness. It balances the sweetness of the sugar and the bitterness of the chocolate. A pinch too little can leave the dough bland; too much can make it taste metallic. The key is to measure precisely, and remember that salt is a flavor amplifier.
Sugar is the sweetener that caramelizes during baking, creating a golden crust. It also feeds the yeast, helping the dough rise. A small amount of sugar (about one teaspoon) is enough to kickstart the fermentation without overpowering the chocolate. If you prefer a sweeter pastry, add a tablespoon of sugar to the dough, but be aware it will darken the crust.
The Yeast Boost
Active dry yeast is the leavening agent that gives the croissant its airy structure. It’s activated in warm milk, which also hydrates the flour and creates a smooth dough. The yeast’s flavor is subtle but essential; skip it and you’ll end up with a flat, doughy result. Use the exact amount of yeast to avoid over‑fermentation, which can cause a sour taste.
Warm milk (about 110°F) provides the perfect environment for yeast activation. It’s not too hot to kill the yeast, nor too cool to slow the process. If you don’t have a thermometer, test the milk with your finger—if it feels warm but not hot, it’s just right. The milk also adds a subtle richness to the dough.
Butter for Layers
Cold butter is the star of the show for lamination. It’s the key to creating those flaky, buttery layers that separate when baked. Keep the butter cold but pliable; if it’s too hard, it will create lumps; if it’s too soft, it will melt into the dough. A simple trick: place the butter in a plastic bag and press it into a flat square, then chill for 10 minutes before using.
The butter also adds moisture and flavor to the dough. It’s responsible for the tender crumb that melts in your mouth. If you’re using salted butter, reduce the salt in the dough to avoid an overly salty pastry. For an extra buttery flavor, brush the tops with melted butter before baking.
The Chocolate Core
Chocolate chips or a chocolate spread are the filling that turns an ordinary croissant into a decadent treat. Dark chocolate adds depth and a slightly bitter edge, while milk chocolate provides sweetness and creaminess. Mixing the two creates a balanced flavor profile that satisfies both sweet and slightly savory cravings.
If you’re using chocolate spread, choose one with a high cocoa content to avoid a sugary taste. The chocolate should be at room temperature so it melts easily into the dough but doesn’t liquefy too quickly. A pinch of sea salt on top of the chocolate before baking can enhance the flavor and add a subtle crunch.
Everything’s prepped? Good. Let’s get into the real action…

The Method — Step by Step
- In a large bowl, combine 2 cups of all‑purpose flour, 1 teaspoon of salt, and 1 teaspoon of sugar. Mix until the ingredients are evenly distributed, then create a well in the center. This step is crucial for ensuring the dough is uniform and prevents clumps from forming later. As you stir, you’ll notice the flour beginning to absorb the liquid, signaling that the dough is coming together.
- Activate the yeast by dissolving 1 packet of active dry yeast in 1 cup of warm milk. Let it sit for 5–7 minutes until it becomes frothy. This froth is a sign that the yeast is alive and ready to leaven the dough. If the mixture doesn’t froth, it’s likely the yeast is dead and should be replaced.
- Add the frothy yeast mixture and 2 tablespoons of melted butter to the flour mixture. Stir until a shaggy dough forms. The melted butter will start to coat the flour, creating a smooth, pliable dough. You’ll feel the dough start to pull together as you mix.
- Turn the dough onto a lightly floured surface and knead for about 5 minutes until it becomes smooth and elastic. This kneading process develops gluten, which gives the croissant its structure. Keep an eye on the dough’s texture; it should be tacky but not sticky.
- Shape the dough into a ball, cover with plastic wrap, and let it rest at room temperature for 30 minutes. This rest period allows the gluten to relax, making the dough easier to roll out. During this time, the yeast will continue to work, giving the dough a subtle rise.
- While the dough rests, prepare the butter block by placing 1/2 cup of cold butter between two sheets of parchment paper. Use a rolling pin to flatten it into a 6x6 inch square. The butter should be cold but pliable—if it’s too hard, it will crumble; if it’s too soft, it will melt into the dough.
- Roll the dough out into a 12x8 inch rectangle, then place the butter square in the center. Fold the dough over the butter like an envelope, sealing the edges. This creates the first layer of butter, which will separate during baking to form flaky layers.
- Roll the dough again into a 12x8 inch rectangle. Perform a “turn” by folding the dough into thirds, like a letter. This completes the first turn and begins the lamination process. Repeat the roll and turn process two more times, chilling the dough for 30 minutes between each turn to keep the butter cold.
- After the final turn, roll the dough into a 12x8 inch rectangle again. Cut the dough into 12 equal triangles. This shape allows the croissants to puff up into a classic crescent shape during baking.
- Place a tablespoon of chocolate chips or a dollop of chocolate spread at the wide end of each triangle. Fold the dough over the chocolate, sealing the edges by pinching them together. The chocolate should be at room temperature so it melts evenly during baking.
- Place the croissants on a parchment‑lined baking sheet, leaving space between each piece. Brush the tops with a beaten egg for a glossy finish and a golden crust. Let them rest for 30 minutes to allow the dough to rise slightly before baking.
- Preheat your oven to 400°F (200°C). Bake the croissants for 18–20 minutes, or until they’re a deep golden brown and the chocolate inside has melted into a silky sauce. The aroma will fill the kitchen, and you’ll know they’re ready when the tops are crisp and the bottoms are lightly browned.
- Remove the croissants from the oven and let them cool on a wire rack for 5 minutes before serving. The chocolate will set slightly, making the pastries easier to handle. Serve warm for the best experience—each bite should be a combination of flaky dough, buttery richness, and chocolate bliss.
That’s it — you did it. But hold on, I’ve got a few more tricks that will take this to another level…
Insider Tricks for Flawless Results
The Temperature Rule Nobody Follows
Temperature control is the secret sauce behind every flaky pastry. If the butter is too warm, it will melt into the dough, preventing the layers from forming. If it’s too cold, it will crack and create uneven layers. The ideal temperature is around 32°F (0°C); you can test this by placing the butter on a thermometer or by feeling it—cold but not icy. By keeping the butter at this temperature, you’ll ensure a consistent, flaky result every time.
Why Your Nose Knows Best
During the first rise, the dough will emit a faint yeasty aroma. This scent is a cue that the yeast is active and the dough is ready for the next step. If you’re unsure, give the dough a gentle press; if the indentation slowly springs back, it’s ready. Trust your nose, and you’ll avoid over‑ or under‑proofing, which can ruin the texture.
The 5-Minute Rest That Changes Everything
After you’ve folded the croissants, let them rest for exactly 5 minutes before baking. This short rest allows the dough to relax, making it easier to achieve a perfect rise in the oven. A friend once skipped this step and ended up with flat, doughy croissants. That’s the difference between a mediocre and a mouth‑watering pastry.
Egg Wash for a Golden Finish
A light brush of beaten egg before baking gives the croissants a shiny, golden crust that looks as good as it tastes. The egg also helps the dough rise slightly more, creating a lighter crumb. If you’re vegan, a splash of warm milk or a plant‑based milk alternative will produce a similar effect.
The Secret of the Chocolate Melt
If you want the chocolate to be extra silky, add a teaspoon of unsweetened cocoa powder to the chocolate chips before folding. This deepens the flavor and ensures the chocolate doesn’t separate or become gritty. The cocoa also helps the chocolate spread evenly throughout the dough during baking.
Creative Twists and Variations
This recipe is a playground. Here are some of my favorite ways to switch things up:
Almond Joy Croissant
Swap the chocolate for a mixture of shredded coconut and chopped almonds. Add a splash of coconut milk to the dough for extra flavor. The result is a tropical twist that feels like a dessert you can eat for breakfast.
Salted Caramel Croissant
Use salted caramel sauce instead of chocolate. Drizzle a pinch of sea salt on top before baking. The caramel’s sweetness pairs perfectly with the buttery crust for a sophisticated treat.
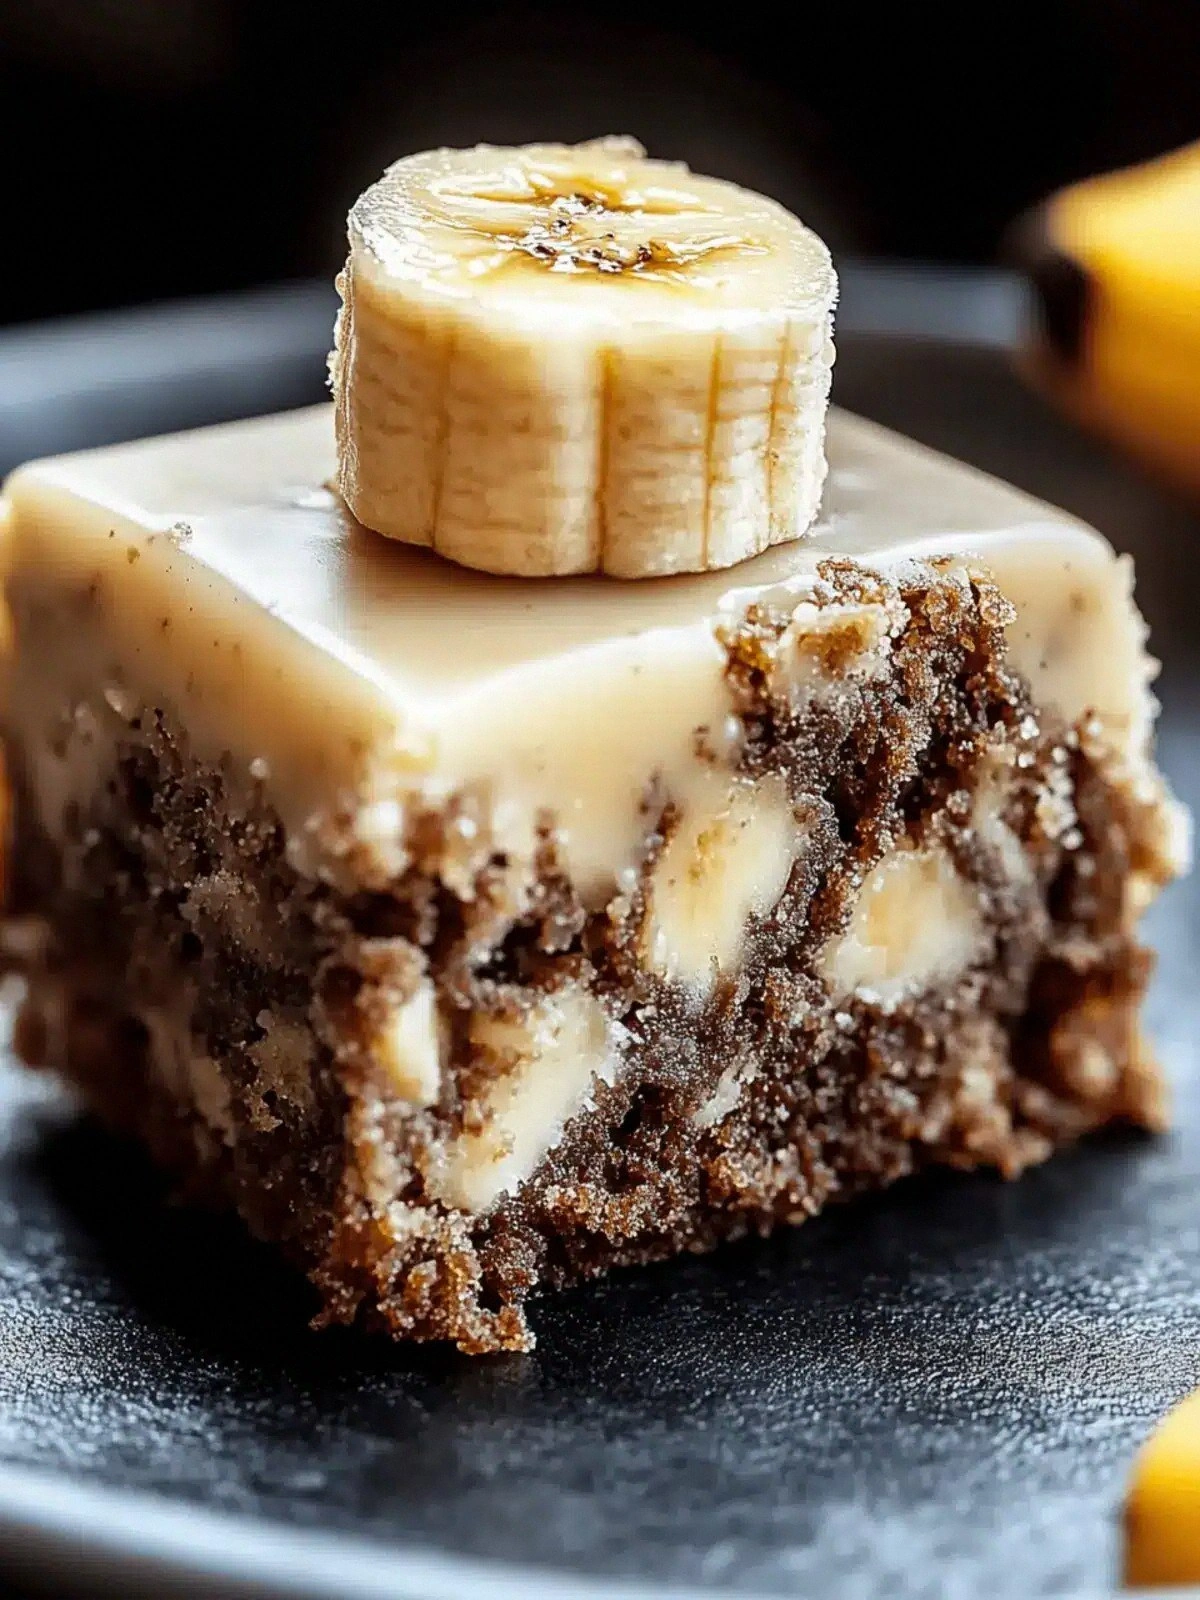
Nutella & Banana Croissant
Spread a thin layer of Nutella over the dough, then add a sliced banana before folding. The banana’s natural sweetness complements the hazelnut flavor, creating a breakfast favorite.
Espresso Infused Croissant
Add a teaspoon of instant espresso to the dough for a subtle coffee flavor that pairs beautifully with chocolate. The espresso also enhances the chocolate’s depth and gives the pastry an extra kick.
Chewy Chocolate Chip Croissant
Replace the standard chocolate chips with chewy chocolate chips or chunks of dark chocolate. The chewy texture adds a fun contrast to the flaky dough.
Cinnamon Swirl Croissant
Sprinkle cinnamon sugar over the dough before folding. The cinnamon adds warmth and a sweet spice that complements the chocolate filling.
Storing and Bringing It Back to Life
Fridge Storage
Store uncooked croissants in an airtight container at room temperature for up to 2 days. Keep them in a cool, dry place away from direct sunlight. When you’re ready to bake, let them sit at room temperature for 30 minutes to re‑activate the dough before baking.
Freezer Friendly
You can freeze the rolled dough before the final turn. Wrap it tightly in plastic wrap, then place it in a freezer bag. When you’re ready to bake, thaw overnight in the refrigerator and let it come to room temperature before proceeding with the final steps.
Best Reheating Method
To reheat, preheat your oven to 350°F (175°C). Place the croissants on a parchment‑lined tray and bake for 8–10 minutes. Add a tiny splash of water to the bottom of the pan to create steam, which keeps the croissants moist and prevents the crust from becoming too hard.