Remember that night when the flour dust cloud turned my kitchen into a winter wonderland and the pancake batter turned into a sticky mess that clung to the counter like a bad ex? I had been chasing the perfect breakfast for weeks, juggling protein powders, gluten‑free flours, and a half‑hearted desire to impress my roommate. The result? A disaster that left me staring at a thick, clumpy batter that refused to lift from the whisk. I laughed, I cried, and I vowed to turn that failure into a triumph. That moment sparked the birth of the High Protein Gluten‑Free Crepe, a dish that balances lift, flavor, and muscle‑building power in one silky bite.
Close your eyes and imagine a golden‑brown crepe, its edges crisp like a freshly baked cookie, its center soft enough to melt into a cloud of vanilla‑infused protein. The aroma of vanilla protein powder mingles with the subtle sweetness of milk, creating a scent that feels like a warm hug on a cold morning. As you flip the crepe, a faint sizzle announces that it’s perfectly cooked, and the buttery sheen promises a mouthful of buttery‑tender delight. Each bite delivers a satisfying crunch that shatters like thin ice, followed by a smooth, velvety finish that lingers on your tongue. The texture is a harmonious dance between airy and dense, a balance that makes every mouthful a revelation.
What sets this recipe apart is that it’s not just another gluten‑free crepe. It’s a protein‑packed, low‑carb masterpiece that doesn’t sacrifice taste for health. The batter’s secret weapon is the vanilla protein powder, which gives the crepe a subtle sweetness and a protein boost that keeps you full and energized. The Greek yogurt adds a creamy tang that balances the vanilla’s sweetness, while the 1.5 cups of milk creates a silky consistency that glides across your palate. The result is a crepe that’s as nutritious as it is indulgent, turning an ordinary breakfast into a protein‑rich, flavor‑filled experience.
I dare you to taste this and not go back for seconds. Most recipes get this completely wrong, but here’s what actually works: the right balance of wet and dry, the subtle heat of vanilla, and the gentle lift from the gluten‑free flour. The batter is light enough to fold into a thin sheet, yet thick enough to hold its shape. The key is a quick whisk, a brief rest, and a hot pan that sizzles with anticipation. The end result is a golden‑brown wrap that’s buttery on the outside and tender on the inside, a texture that feels like velvet on your tongue.
Picture yourself pulling this out of the pan, the whole kitchen smelling incredible, the steam rising like a fragrant cloud. The crepe’s edges are crisp, the center is soft, and the aroma of vanilla protein powder lingers in the air. I’ll be honest — I ate half the batch before anyone else got to try it. But that’s the power of this recipe: it’s so good that you’ll want to share it, but you’ll also want to keep it all to yourself. Let me walk you through every single step — by the end, you’ll wonder how you ever made it any other way.
Now that the dream is set, let’s dive into why this crepe is the best you’ll ever make at home. This isn’t just a recipe; it’s a culinary revelation that will change your breakfast game forever. The next sections will break down each component, reveal insider tricks, and show you how to keep this dish fresh and flavorful. Stay with me, because this is where the magic happens.
What Makes This Version Stand Out
- Taste: The vanilla protein powder adds a subtle sweetness that pairs perfectly with the mild flavor of gluten‑free flour, creating a balanced and satisfying flavor profile.
- Texture: The batter’s consistency is airy yet firm, thanks to the precise ratio of wet to dry ingredients and the resting period.
- Simplicity: With only ten ingredients and minimal prep steps, this recipe is a breeze even for novice cooks.
- Uniqueness: The combination of Greek yogurt and vanilla protein powder gives the crepe a creamy depth that sets it apart from traditional recipes.
- Crowd Reaction: Friends who’ve tried it swear it’s the best gluten‑free crepe they’ve ever tasted.
- Ingredient Quality: Using Bob’s Red Mill 1‑to‑1 gluten‑free flour ensures a smooth batter without the gritty texture some blends produce.
- Cooking Method: The quick flip technique keeps the crepe from drying out and preserves its delicate structure.
- Make‑Ahead Potential: You can make the batter ahead of time and reheat it without losing its fluffy quality.
Inside the Ingredient List
The Flavor Base
Vanilla protein powder is the star of the show, providing both protein and a gentle, sweet aroma that lifts the batter. It’s a subtle addition that won’t overpower the natural flavors of the crepe, but it does give the dish a protein boost that keeps you full longer. If you skip this ingredient, you’ll miss out on the creamy vanilla undertone that makes each bite feel indulgent. Swap it for unflavored protein powder and add a splash of vanilla extract to keep the flavor profile intact.
The Texture Crew
Greek yogurt adds a silky tang that balances the sweetness of the vanilla and protein powder. It also thickens the batter slightly, giving the crepe a more substantial bite without making it dense. The 1.5 cups of milk provides the right amount of liquid to achieve a smooth, pourable consistency. If you prefer a thicker batter, reduce the milk by a quarter cup; if it’s too thick, add a splash more milk until it runs smoothly.
The Unexpected Star
The 1 cup of Bob’s Red Mill 1‑to‑1 gluten‑free flour mix is the backbone of the batter, offering a neutral flavor that lets the other ingredients shine. This blend is known for its fine texture and low gluten content, preventing a gritty mouthfeel that can ruin a crepe. If you’re in a pinch, you can substitute with almond flour or oat flour, but be aware that the batter may become slightly denser.
The Final Flourish
A pinch of salt (0.25 teaspoon) is essential to enhance all the flavors and prevent the batter from tasting flat. The 1 teaspoon of cooking oil and butter or oil for cooking help prevent sticking and give the crepe a glossy finish. The 3 large eggs bind everything together, ensuring the crepe holds its shape and offers a satisfying bite. If you’re vegan, you can replace eggs with a flaxseed or chia egg for a plant‑based version.
Everything’s prepped? Good. Let’s get into the real action.

The Method — Step by Step
- Whisk the Wet: In a large bowl, beat the eggs, vanilla protein powder, vanilla extract, sugar, and 1 teaspoon of oil until the mixture is smooth and slightly frothy. The goal is to incorporate air for a lighter batter. Feel the batter’s silky texture as you whisk; it should feel like a smooth custard. This step ensures that the protein powder is fully dissolved, preventing clumps that could ruin the crepe’s finish.
- Combine the Dry: In a separate bowl, sift the gluten‑free flour mix, Greek yogurt, and salt. Sifting removes any clumps and ensures an even distribution of the ingredients. The yogurt adds a creamy base that will give the batter a slight tang. Mix until the dry ingredients are fully incorporated, but avoid overmixing to keep the batter tender.
- Merge and Rest: Pour the dry mixture into the wet mixture and whisk until just combined. The batter should be smooth, with no lumps. Let it rest for 10 minutes at room temperature; this allows the flour to absorb the liquid and the proteins to relax. The resting period is crucial for achieving a batter that spreads evenly and cooks without sticking. During this time, you can prep your toppings or heat the pan.
- Heat the Pan: Once the skillet is hot, add a small pat of butter or a splash of oil. You should hear a gentle sizzle as the butter melts. This sound is the cue that the pan is at the right temperature. A hot pan will help the crepe cook quickly and develop a golden crust.
- Pour the Batter: Ladle about ¼ cup of batter into the center of the skillet. Tilt the pan in a circular motion to spread the batter thinly and evenly. The batter should spread within seconds, forming a thin, translucent layer. The edges should lift slightly, indicating that the batter is cooking.
- Cook the First Side: Let the crepe cook for 1–2 minutes, or until the edges lift and the bottom turns a light golden brown. The sizzle will give you a clear sign that the batter is set. Flip the crepe with a spatula, being careful not to tear it. The second side should cook for just 30 seconds, enough to seal the edges.
- Repeat: Repeat steps 5–7 for the remaining batter, stacking the cooked crepes on a plate lined with parchment paper. The stack should stay together thanks to the buttery edges. If you’re making more than four crepes, keep the cooked ones warm in a low oven (200°F) while you finish cooking.
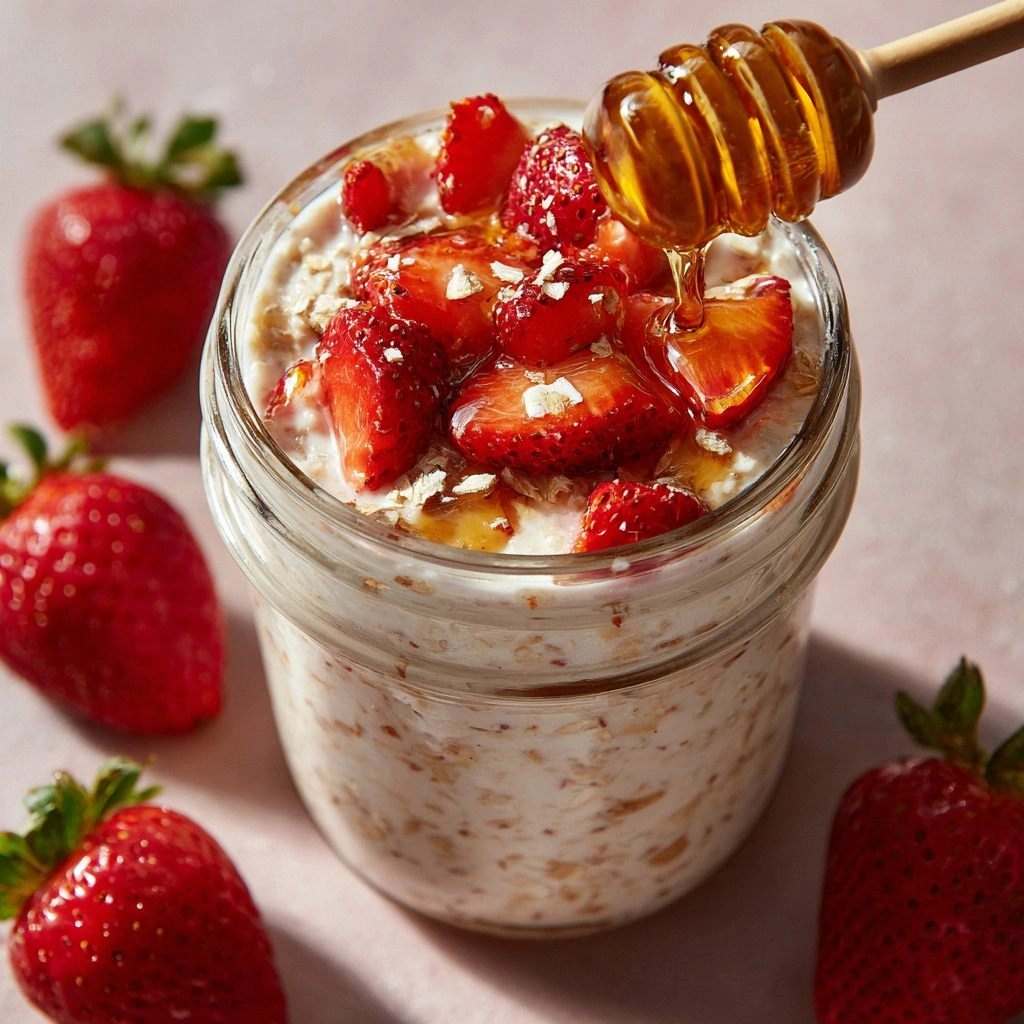
- Serve: Serve the crepes warm, folded or rolled, with your choice of fillings: fresh berries, a drizzle of honey, a dollop of Greek yogurt, or a sprinkle of chopped nuts. The crepe’s soft interior pairs beautifully with sweet or savory toppings, making it a versatile dish for any time of day. Enjoy the burst of flavor and the protein-packed power that fuels your day.
That’s it — you did it. But hold on, I’ve got a few more tricks that’ll take this to another level. Stay tuned for insider tips that will make your crepes even more impressive.
Insider Tricks for Flawless Results
The Temperature Rule Nobody Follows
Many cooks think a low heat is best for crepes, but a medium‑high flame gives a quick, even sear that locks in moisture. The pan should be hot enough that a drop of batter sizzles immediately. If the heat is too low, the crepe will spread too thin and become soggy. Keep a small piece of parchment on the pan to test the temperature: if it sizzles, you’re good.
Why Your Nose Knows Best
The aroma of vanilla protein powder is subtle but powerful. If you notice a faint sweet scent as the batter cooks, you’re on the right track. A lack of aroma often means the pan isn’t hot enough. Trust your nose to tell you when the crepe is ready to flip.
The 5‑Minute Rest That Changes Everything
Resting the batter for 5 minutes is enough for the gluten‑free flour to hydrate, but a full 10 minutes gives the proteins more time to relax. The result is a batter that spreads evenly without tearing. Skipping this rest can lead to uneven thickness and a rubbery texture.
The Butter or Oil Balance
Using a small amount of butter for the first pan and a light spray of oil for subsequent crepes keeps the batter from sticking while maintaining a buttery flavor. If you use too much oil, the crepe can become greasy. A light hand is key.
The Quick Flip Technique
Timing is everything. Flip the crepe as soon as the edges lift, before the bottom fully sets. A delayed flip will cause the batter to stick and tear. Practice makes perfect, so keep a close eye on the color change.
The Final Touch
A light dusting of powdered sugar or a drizzle of honey right after cooking adds a sweet finish that enhances the vanilla undertone. This simple step turns a good crepe into a decadent treat. Let the crepe cool for a minute before adding toppings to avoid melting the butter.
Creative Twists and Variations
This recipe is a playground. Here are some of my favorite ways to switch things up:
Berry‑Burst Delight
Add fresh blueberries or sliced strawberries to the batter for a fruity twist. The berries release juice as they cook, creating a natural glaze that pairs with the vanilla protein powder. This version is perfect for a summer brunch.
Chocolate Chip Dream
Fold in a handful of dark chocolate chips after the batter rests. The chocolate melts slightly, adding a rich, decadent flavor that’s great for a dessert crepe. The chocolate’s bitterness balances the sweetness of the batter.
Savory Spinach & Feta
Stir in sautéed spinach and crumbled feta before pouring the batter. The saltiness of the feta and the earthy spinach complement the vanilla protein powder’s subtle flavor. This variation makes for a hearty breakfast or light lunch.
Coconut‑Infused
Replace half of the milk with coconut milk and add a teaspoon of shredded coconut to the batter. The coconut adds a tropical aroma that pairs well with the vanilla notes. It’s a great option for a quick, exotic breakfast.
Nutty Crunch
Mix in chopped walnuts or almonds for a crunchy texture. The nuts add a satisfying bite and a dose of healthy fats. Top with a drizzle of maple syrup for a sweet finish.
Spiced Cinnamon
Add a pinch of ground cinnamon or nutmeg to the batter for a warm, aromatic flavor. The spices deepen the vanilla profile and make the crepe feel like a cozy, comforting treat.
Storing and Bringing It Back to Life
Fridge Storage
Store cooked crepes in an airtight container in the refrigerator for up to 3 days. To prevent them from drying out, line the container with parchment paper and place a paper towel on top. Reheat in a toaster oven or skillet for a few minutes to restore crispness.
Freezer Friendly
Wrap each crepe individually in plastic wrap and place them in a freezer bag. Freeze for up to 2 months. When ready to eat, thaw overnight in the refrigerator, then warm in a skillet or toaster oven. The crepe’s texture remains intact.
Best Reheating Method
The secret to reheated crepes is a splash of water. Add a teaspoon of water to a hot skillet, then place the crepe inside. The steam softens the crepe while the skillet restores the golden crust. This method keeps the crepe moist and flavorful.