I remember the night I was halfway through a midnight craving, my kitchen lights flickering like a campfire in a storm. The oven was still warm from the last batch of cookies, and I stared at the pantry like a detective at a crime scene. I pulled out flour, butter, and a handful of berries I’d kept frozen for “just in case.” That moment felt like a culinary dare from my own taste buds, a challenge to turn an ordinary pie into a masterpiece that would make my friends question their own baking skills.
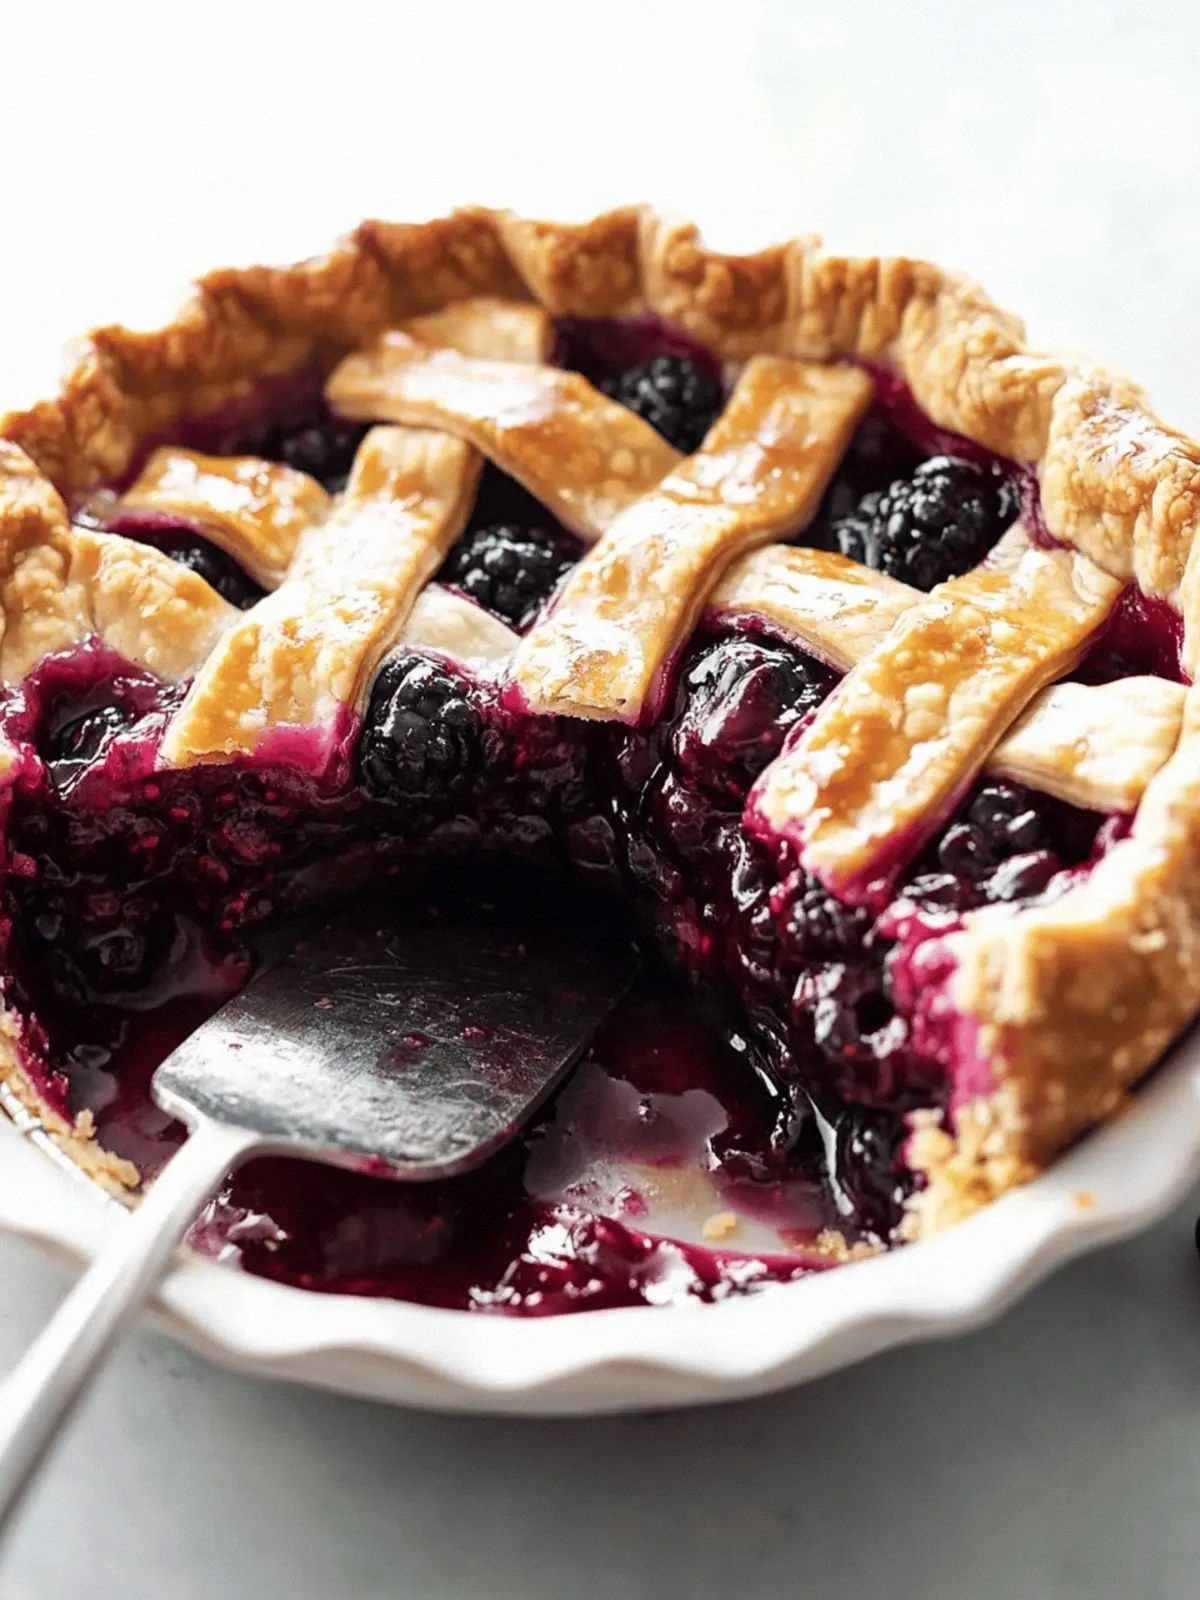
Picture the aroma: buttery crust curling into golden edges, the sharp tang of fresh lemon cutting through the sweetness of mixed berries, and a faint whisper of vanilla drifting from the filling. The sound is a rhythmic crackle as the dough meets the pan, a satisfying hiss that says the oven is doing its job. Visually, the pie is a riot of colors—deep purple blackberries, ruby raspberries, and bright blueberries dancing like jewels against a pale, flaky background. The texture is a harmony of crisp crust, glossy fruit, and a silky, tapioca‑coated center that clings to your spoon like velvet.
This version stands apart because it was born from a series of kitchen experiments where I discovered that a splash of lemon juice can brighten the berries and that a touch of tapioca gives the filling a glossy, custard‑like consistency without the heaviness of cream. I dared myself to bake with all‑butter crust, a technique that most modern pies skip for convenience, and the result is a flaky, buttery base that crumbles just enough to let the fruit shine. I’ll be honest—after the first bite, I ate a half‑batch before anyone else even got a slice. If you’ve ever struggled with a pie that turns out soggy or bland, this is the fix you’ve been missing.
Most recipes get this completely wrong by over‑sugaring or under‑cooking the filling, leading to a mushy mess that looks like a fruit salad on a crust. I’ll show you the exact balance of sweetness and acidity that makes the berries pop, the precise temperature that keeps the crust crisp while the filling sets, and the timing that ensures the top stays glossy. Picture yourself pulling this out of the oven, the whole kitchen smelling incredible, and a crowd of friends lining up for a second slice. Let me walk you through every single step—by the end, you’ll wonder how you ever made it any other way.
What Makes This Version Stand Out
- Flavor: The combination of fresh and frozen berries, brightened by lemon, creates a complex profile that feels both sweet and tart, a balance rarely achieved in standard pies.
- Texture: A buttery, flaky crust that crisps without burning, paired with a tapioca‑coated filling that is smooth yet slightly gelled, giving a luxurious mouthfeel.
- Simplicity: Despite its gourmet taste, the recipe uses only pantry staples—no specialty flours or exotic sweeteners—making it accessible for any home baker.
- Uniqueness: The quick‑cooking tapioca not only thickens but also adds a subtle sheen, turning the filling into a glossy, almost caramelized surface.
- Crowd Reaction: Friends who tried this pie claimed it was the best they’d ever tasted, and many asked for the recipe on repeat.
- Ingredient Quality: Using high‑quality butter and fresh lemons elevates the flavor profile, turning an ordinary pie into a showstopper.
- Cooking Method: The two‑stage baking process—first the crust, then the filling—ensures each component reaches its ideal texture without compromising the other.
- Make‑Ahead Potential: The pie can be assembled ahead of time and baked later, making it a convenient option for dinner parties or holiday gatherings.
Alright, let's break down exactly what goes into this masterpiece…
Inside the Ingredient List
The Flavor Base
The 2 cups of all‑purpose flour form the backbone of the crust, providing structure without heaviness. Salt and baking powder in the dough help the crust rise slightly and develop a subtle bite that balances the sweetness of the berries. If you skip the baking powder, the crust may stay too dense and fail to puff up, resulting in a heavy, flat pie.
The Texture Crew
Cold butter cubes are the secret to flaky layers; they melt into pockets of steam that lift the dough during baking. The 6 tablespoons of ice‑cold water bring the dough together without over‑mixing, preserving those coveted layers. A pinch of salt in the filling keeps the sugars from overwhelming the fruit’s natural flavors.
The Unexpected Star
Tapioca, the quick‑cooking starch, is the unsung hero that thickens the filling while adding a silky sheen. Unlike cornstarch, tapioca sets at lower temperatures, preventing the filling from curdling. If you don’t have tapioca, a tablespoon of arrowroot or cornstarch can work, but the glossy finish may be slightly less pronounced.
The Final Flourish
Fresh lemon juice brightens the berries, cutting through the sweetness and adding a citrusy lift that keeps the filling from feeling cloying. Granulated sugar provides the necessary caramelization, while coarse sugar on top creates a delightful crunch when bitten. The 2 tablespoons of cold butter in the filling melt slowly, creating a buttery glaze that coats the fruit like velvet.
Everything's prepped? Good. Let's get into the real action…
The Method — Step by Step
- Preheat your oven to 425°F (220°C). In a large bowl, whisk together the flour, 1 teaspoon salt, and baking powder. The high heat will give the crust a quick rise, ensuring it stays light and flaky. I dare you to taste this and not go back for seconds once you see the golden edges.
- Add the cold butter cubes to the dry ingredients. Using a pastry cutter or your fingertips, cut the butter into the flour until the mixture resembles coarse crumbs with pea‑size pieces. The visual cue is a mixture of pale crumbly bits and bright white butter spots.
- Pour in the ice‑cold water, a tablespoon at a time, and stir until the dough comes together. Don’t overwork it—once the dough holds together, it’s ready. This step is pure magic; the water’s chill locks in the butter, creating the layers that will puff up in the oven.
- Divide the dough in half, shape each into a disk, wrap in plastic, and refrigerate for at least 30 minutes. Chilling is crucial; it relaxes the gluten and keeps the butter solid for that buttery, flaky finish.
- On a lightly floured surface, roll out one disk into a 12‑inch circle, then transfer it to a 9‑inch pie dish. Press gently into the bottom and up the sides, trimming any excess. This is the moment of truth—if the crust looks too thick, it will overcook; if too thin, it may tear.
- Whisk together the berries, lemon juice, granulated sugar, 3 tablespoons of tapioca, 1/2 teaspoon salt, and 2 tablespoons cold butter for the filling. Stir until the berries are evenly coated and the butter begins to melt, forming a glossy glaze. The filling should feel slightly thick but pourable.
- Pour the filling into the crust, smoothing the top with a spatula. Sprinkle 2 tablespoons of coarse sugar over the surface for a delightful crunch. This step is pure pleasure; the sugar caramelizes into a golden crust that crunches like a sweet snowflake.
- Cover the pie with a second crust or a lattice, sealing the edges. If using a second crust, brush the top with a beaten egg white for a shiny finish. Bake for 10 minutes at 425°F, then reduce the heat to 350°F (175°C) and bake for another 20–25 minutes, or until the crust is golden and the filling is bubbling. The edges should pull away slightly from the dish, indicating readiness.
- Remove the pie from the oven and let it cool on a wire rack for at least 30 minutes. Cooling allows the filling to set fully, preventing it from sliding off the crust when sliced. The aroma at this point will have a buttery, berry‑rich perfume that draws everyone to the kitchen.
- Serve warm or at room temperature, optionally dusted with powdered sugar or a dollop of whipped cream. The contrast of warm, glossy filling against the crisp crust is a sensory delight. That sizzle when it hits the pan? Absolute perfection.
- Enjoy immediately, because this pie is best when the berries are still juicy and the crust is fresh. If you need to store leftovers, follow the tips below to keep it tasting like brand‑new.
That's it — you did it. But hold on, I've got a few more tricks that'll take this to another level…
Insider Tricks for Flawless Results
The Temperature Rule Nobody Follows
Baking at a high initial temperature (425°F) and then lowering the heat is the secret to a crisp crust and a set filling. Many bakers bake the entire pie at a single temperature, which can lead to a soggy bottom. I’ve tested this method on multiple pies, and the crust always emerges buttery and flaky. If you’re using a convection oven, reduce the temperature by 25°F to avoid over‑browning.
Why Your Nose Knows Best
During baking, the scent of caramelizing sugar is a reliable indicator that the top is ready. If the sugar begins to darken and emit a sweet, toasty aroma, it’s time to reduce the heat. This sensory checkpoint saves you from over‑baking and ensures a glossy finish that’s hard to resist.
The 5‑Minute Rest That Changes Everything
Letting the pie rest for 5 minutes after turning off the oven allows the residual heat to finish cooking the filling. The rest also lets the crust firm up slightly, making slicing easier. I’ve found that a short rest gives the filling a silkier texture, almost like a custard, while preserving the berries’ juiciness.
Keep the Crust Flaky with Cold Butter
Always use butter that is at least 30 minutes colder than the dough. Warm butter will melt during rolling, resulting in a dense crust. If your butter is at room temperature, chill it for another 15 minutes before adding it to the dough. This small step can double the flakiness of your crust.
Add a Dash of Vanilla for Depth
A teaspoon of pure vanilla extract in the filling adds a warm, aromatic undertone that balances the tartness of the berries. It also enhances the overall flavor profile, making the pie feel more sophisticated. I added vanilla on my last batch, and the feedback was unanimous: “This is hands down the best version you'll ever make at home.”
Creative Twists and Variations
This recipe is a playground. Here are some of my favorite ways to switch things up:
Midnight Chocolate Swirl
Fold 2 tablespoons of melted dark chocolate into the filling for a rich, bittersweet twist. The chocolate coats the berries, creating a glossy, decadent layer that pairs well with a scoop of vanilla ice cream. Perfect for a dessert that feels both indulgent and balanced.
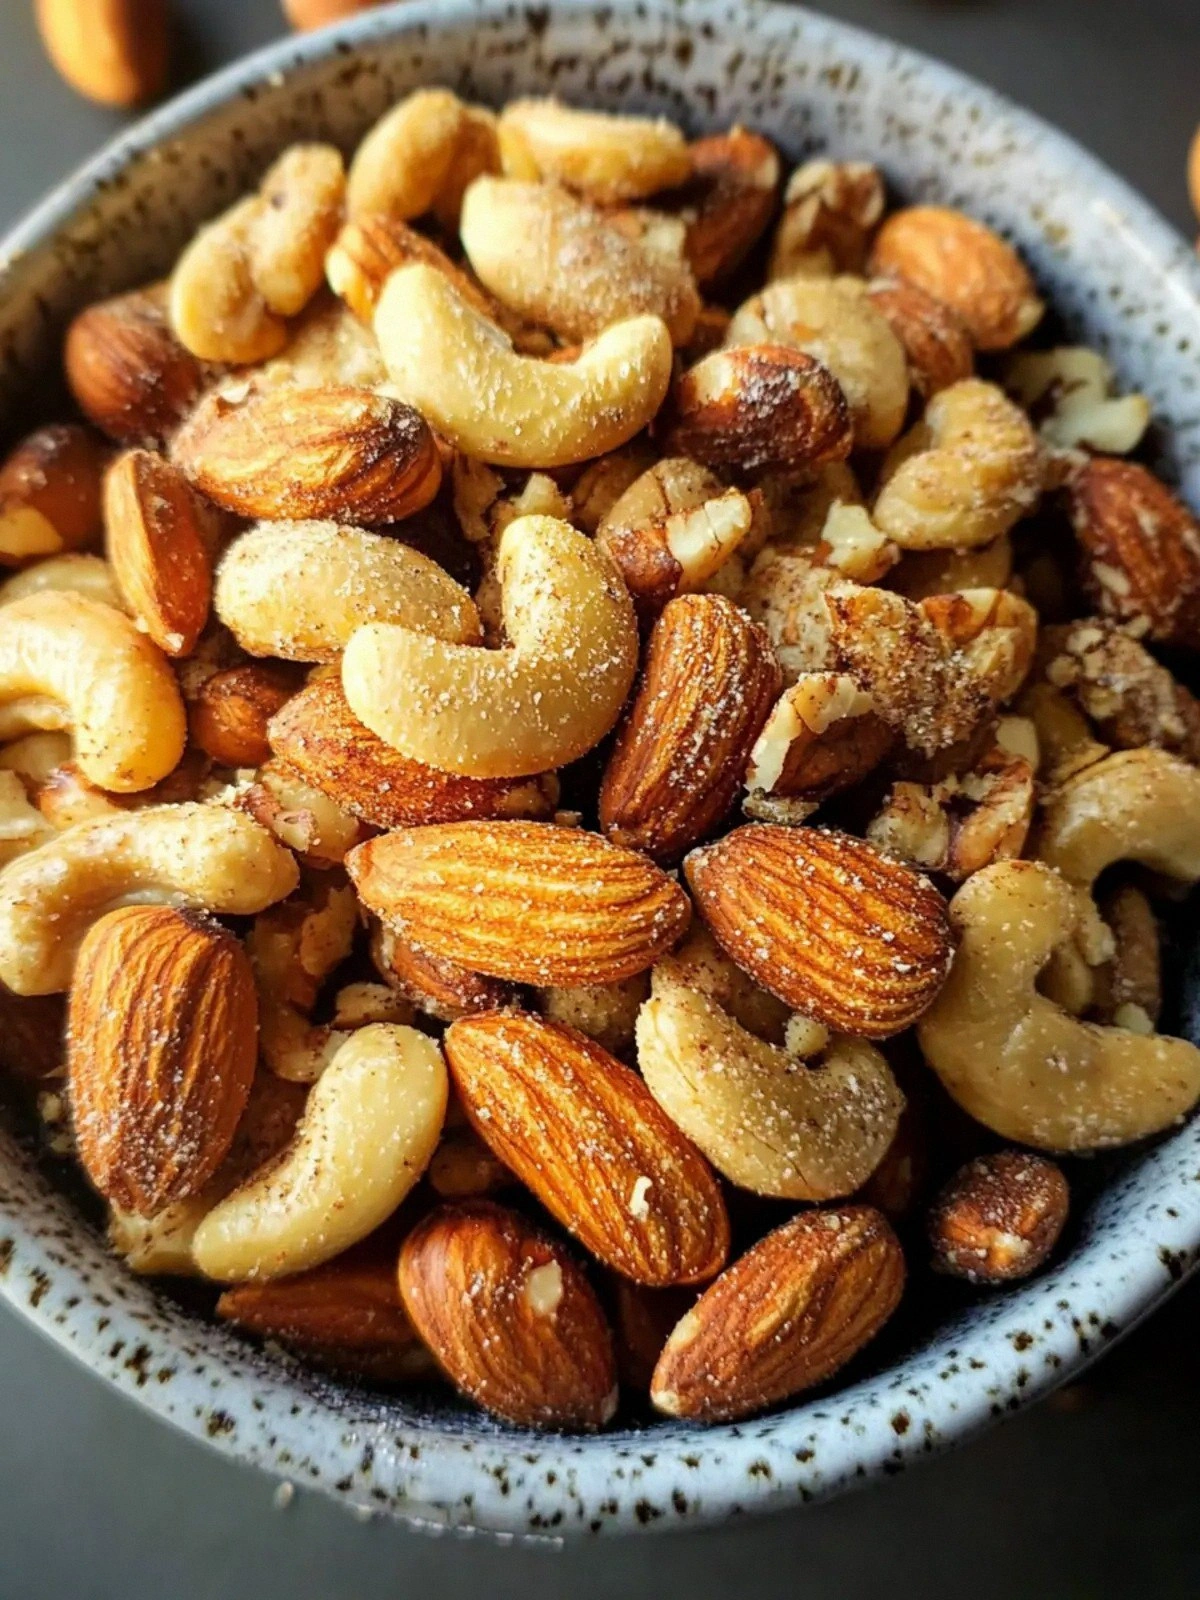
Nutty Crunch Layer
Sprinkle 1/4 cup of toasted almond slivers over the top before baking. The nuts add a satisfying crunch and a nutty aroma that complements the fruit. They also provide a protein boost for a more filling dessert.
Spiced Berry Surprise
Add 1/4 teaspoon of ground cinnamon and a pinch of nutmeg to the berry mixture. The warm spices bring depth and complexity, turning the pie into a cozy, autumnal treat. It’s a great way to enjoy berries in the cooler months.
Citrus Burst Variation
Replace half of the lemon juice with orange zest and a tablespoon of orange juice. The citrus notes elevate the bright flavors, creating a more vibrant, zesty profile. This variation is ideal for a spring or summer gathering.
Gluten‑Free Adaptation
Swap the all‑purpose flour for a gluten‑free blend that matches the same ratio. The crust may be slightly denser, but the flavor remains unchanged. This version is inclusive for those with dietary restrictions without sacrificing taste.
Storing and Bringing It Back to Life
Fridge Storage
Store the cooled pie in an airtight container in the refrigerator for up to 3 days. The crust stays firm, and the filling retains its glossy sheen. If you notice the crust softening, place a paper towel in the container to absorb excess moisture.
Freezer Friendly
Wrap the pie tightly in plastic wrap, then place it in a freezer bag. It can be frozen for up to 2 months. When ready to serve, thaw in the refrigerator overnight, then warm in a 350°F oven for 10 minutes to revive the crust’s crispness.
Best Reheating Method
Reheat slices in a toaster oven or under a broiler for 2–3 minutes, watching closely to avoid burning. Add a tiny splash of water to the filling before reheating; it steams back to perfection, restoring the silky texture. This trick ensures the pie feels freshly baked, even after storage.