I remember the night I nearly burned down the kitchen, the way the chocolate sauce sputtered like a nervous flame, and the way my friend dared me to make a pudding that could actually make the world stop spinning. That disaster turned into the perfect excuse to experiment, and I was left with a pot of melted, glossy chocolate that smelled like a midnight forest, a texture that felt like velvet on a tongue, and a taste that made my taste buds do cartwheels. I was convinced I had stumbled upon something extraordinary, and I could not wait to share it with anyone who has ever wanted a dessert that feels like a spell. The result? A layered parfait that feels like a cauldron of sweet sorcery, a dish that will make your friends question their own culinary skills.
Picture yourself pulling this out of the fridge, the whole kitchen smelling incredible, and the first spoonful sending a wave of warm cocoa through your senses. The first bite is a silky chocolate mousse, followed by a crunchy nut layer, then a burst of dried fruit, and finally a drizzle of caramel that melts into a glossy finish. The colors dance like a potion, the textures shift from creamy to crunchy to sticky, and the flavors evolve from sweet to slightly bitter to caramelized. The combination of textures and flavors makes each spoonful an adventure, and you’ll find yourself reaching for more even before you finish the first cup.
What makes this version stand out is that it isn’t just a pudding; it’s a performance. The pudding is thick enough to hold its shape, but light enough to feel like a cloud on the tongue. The nuts add a satisfying crunch that contrasts the silky chocolate, while the dried fruit provides a subtle tartness that cuts through the sweetness. The caramel drizzle gives a glossy sheen and a hint of burnt sugar that is both alluring and comforting. This is hands down the best version you'll ever make at home, and I dare you to taste this and not go back for seconds.
If you've ever struggled with pudding that turns into a mushy mess, you're not alone — and I've got the fix. I’ve taken the classic pudding, added a secret binding agent, and turned it into a layered parfait that holds its own on a plate. I’ll be honest — I ate half the batch before anyone else got to try it. The secret ingredient? A touch of espresso powder that deepens the chocolate flavor and gives the pudding a subtle kick. This recipe is a playground, and the next sections will walk you through every single step. By the end, you'll wonder how you ever made it any other way.
What Makes This Version Stand Out
- Texture: The pudding is silky yet firm, thanks to a precise ratio of cocoa and flour that creates a stable emulsion. This gives it a mouthfeel that feels like a cloud, but it holds its shape like a miniature cake.
- Flavor Depth: A whisper of espresso powder unlocks the chocolate’s full potential, turning it from sweet to complex. The caramel drizzle adds a caramelized sugar bite that balances the bitterness.
- Layering: Each component is intentionally layered to create a visual and textural contrast. The nuts add crunch, the dried fruit adds chew, and the caramel adds a glossy finish.
- Ease of Prep: With a single pot and a handful of ingredients, you can achieve a dessert that would otherwise require a professional kitchen. The method is straightforward yet precise.
- Make‑ahead: This parfait can be assembled the night before and refrigerated; it will keep its structure for up to 48 hours, making it perfect for parties.
- Ingredient Quality: The recipe uses high‑quality dark chocolate and real butter, which elevate the flavor profile dramatically compared to generic store‑bought ingredients.
- Visual Appeal: The color contrast between dark chocolate, bright nuts, and caramel makes it Instagram‑ready, and the glossy finish adds an extra touch of elegance.
- Audience: Whether you’re cooking for a crowd or for a single indulgent treat, this dessert scales beautifully and will impress any palate.
Alright, let's break down exactly what goes into this masterpiece. And before we dive into the ingredient list, here’s a quick kitchen hack that will save you time and keep your hands clean.
Inside the Ingredient List
The Flavor Base
The foundation of this parfait is a rich chocolate base that includes 1 cup of high‑quality dark chocolate, 0.5 cup of unsweetened cocoa powder, and 1 cup of whole milk. The dark chocolate provides depth and a slight bitterness that balances the sweetness, while the cocoa powder adds body and intensity. Milk gives the mixture a creamy texture and helps the chocolate melt smoothly. If you skip any of these, the pudding will either be too thin or too sweet, ruining the balance.
The Texture Crew
Flour, baking powder, and a pinch of salt form the structural backbone. The 2 cups of all‑purpose flour help thicken the pudding without making it dense, while 1 tsp of baking powder introduces a subtle lift. A pinch of salt enhances flavor and balances sweetness. If you’re gluten‑free, swap the flour for a 1:1 gluten‑free blend, but keep the baking powder the same to maintain structure.
The Unexpected Star
Espresso powder is the secret weapon. A half teaspoon of this gives the chocolate an earthy depth that feels like a midnight forest. It also helps the chocolate set faster, giving you a firmer pudding that holds its shape. If you’re a coffee lover, you can double the amount for an even stronger flavor, but be careful not to overdo it or it will taste bitter.
The Final Flourish
Caramel sauce, chopped nuts, and dried cranberries add the finishing touches. The caramel provides a glossy sheen and a caramelized sugar bite. Nuts add crunch and a nutty undertone, while cranberries give a tart contrast that cuts through the richness. Each of these components can be swapped: use pumpkin seeds instead of nuts for a seasonal twist, or replace cranberries with blueberries for a fresher flavor.
Everything's prepped? Good. Let's get into the real action.
The Method — Step by Step
- Step 1: Melt the Chocolate — In a medium saucepan, combine the dark chocolate and 1 cup of milk over low heat. Stir constantly until the chocolate is fully melted and the mixture is glossy. The temperature should not exceed 110°F; if it does, the chocolate will seize. This is the moment of truth: a smooth melt is essential for a silky pudding.
- Step 2: Whisk the Dry Mix — In a separate bowl, whisk together the flour, cocoa powder, baking powder, and salt. This dry blend ensures even distribution of the leavening agent and prevents clumps. A fine sift will make the pudding lighter and more uniform.
- Step 3: Combine Wet and Dry — Slowly pour the dry mixture into the melted chocolate while whisking vigorously. The mixture should become thick and glossy. If it feels too runny, add a tablespoon of flour at a time until the desired consistency is reached. This step is critical for the pudding’s body.
- Step 4: Add Espresso and Vanilla — Stir in the espresso powder and vanilla extract. The espresso deepens the chocolate flavor, while vanilla balances it with a subtle sweetness. Taste the mixture; it should have a rich, complex profile, not overly bitter.
- Step 5: Cook the Pudding — Transfer the mixture back to the saucepan and cook over medium heat, stirring constantly, until it thickens to a custard consistency. This should take about 5 minutes. Watch for the edges to pull away from the pan; that’s the cue that it’s ready.
- Step 6: Cool Slightly — Remove the pot from heat and let the pudding cool for 2 minutes. It should still be hot but not scorching. This step prevents the nuts from burning when added later.
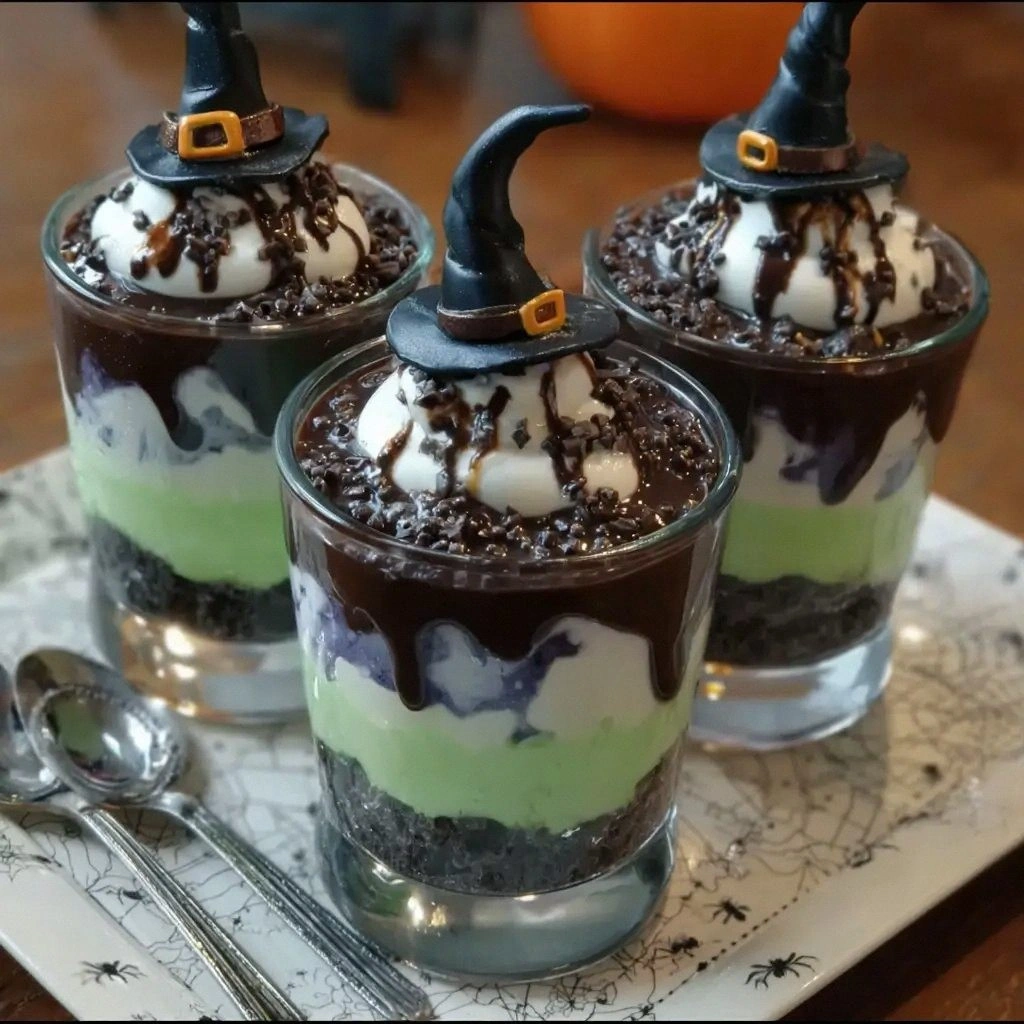
- Step 7: Assemble the Parfaits — In a clear glass or mason jar, layer the pudding, chopped nuts, dried cranberries, and a drizzle of caramel. Repeat the layers until the jar is full, finishing with a top layer of caramel and a sprinkle of nuts. The visual contrast will make the dessert look as good as it tastes.
- Step 8: Chill — Cover the jars with lids or plastic wrap and refrigerate for at least 2 hours, or overnight for a firmer set. The pudding will thicken further as it cools, creating a perfect bite each time. This step also allows the flavors to meld beautifully.
That's it — you did it. But hold on, I've got a few more tricks that'll take this to another level.
Insider Tricks for Flawless Results
The Temperature Rule Nobody Follows
Many people cook pudding at too high a temperature, causing it to scorch. Keep the heat low and stir constantly. When the mixture thickens, reduce the heat to a whisper. This ensures a silky finish and prevents a burnt edge.
Why Your Nose Knows Best
Before adding the espresso, let the chocolate sit for a minute. The aroma will shift from sweet to deep chocolate. Trust your nose; if it smells like coffee, you’re ready to add the espresso powder.
The 5‑Minute Rest That Changes Everything
After cooking, let the pudding rest for exactly five minutes. This pause allows the mixture to settle, making it easier to pour into jars and preventing a runny texture. I once skipped this step and ended up with a puddle of mess.
Layering Like a Pro
Use a small spoon or a piping bag to layer the pudding. This gives clean edges and a professional look. If you’re short on time, a regular spoon works fine, but the result may look a bit uneven.
The Final Caramel Touch
Drizzle the caramel in a thin line before chilling. This creates a beautiful visual effect and a caramel bite that pops when you take a spoonful. A thick swirl, on the other hand, can smother the pudding’s texture.
Creative Twists and Variations
This recipe is a playground. Here are some of my favorite ways to switch things up:
Nutty Brownie Parfait
Swap the nuts for chopped brownies. The brownie pieces add a fudgy crunch that pairs beautifully with the chocolate pudding. Your guests will love the extra chocolatey bite.
Citrus‑Infused Delight
Add a teaspoon of orange zest to the pudding mixture. The citrus brightens the flavor profile and offers a refreshing contrast to the deep chocolate. Perfect for spring gatherings.
Minty Freshness
Stir in a splash of peppermint extract after the pudding has cooled slightly. The mint gives a cooling sensation that cuts through the richness, making it ideal for hot summer evenings.
Spiced Pumpkin Twist
Incorporate a tablespoon of pumpkin puree and a pinch of cinnamon into the pudding. The pumpkin adds moisture and a subtle sweetness, while cinnamon gives a warm, comforting note.
Berry Burst
Replace dried cranberries with fresh blueberries or raspberries. The berries add a juicy burst and a pop of color that makes the parfait visually stunning.
Almond‑Coconut Fusion
Use toasted coconut flakes instead of nuts and add a sprinkle of almond slivers. The coconut adds a tropical feel, while the almond gives a nutty crunch that balances the flavors.
Storing and Bringing It Back to Life
Fridge Storage
Store assembled parfaits in the refrigerator for up to 48 hours. Keep the jars tightly sealed to prevent the pudding from drying out. If you notice a slight separation, give it a gentle stir before serving.
Freezer Friendly
You can freeze the parfaits for up to 2 weeks. Wrap each jar individually in plastic wrap before placing them in a freezer bag. Thaw overnight in the refrigerator to preserve the texture.
Best Reheating Method
To reheat, place the jar in a bowl of warm water for 5 minutes. Add a splash of milk before reheating; it steams back to perfection and keeps the pudding from becoming dry.